Как предотвратить повреждение окна детектора портативного XRF-анализатора: полное руководство по защите
Краткое резюме для руководства
окно детектора портативного рентгенофлуоресцентного анализа (XRF) анализатора является наиболее хрупким физическим компонентом в оптическом тракте устройства. Его физическая целостность напрямую определяет точность обнаружения легких элементов, срок службы прибора и затраты предприятия на техническое обслуживание.
Независимо от того, оснащен ли ваш прибор кремниевым дрейфовым детектором (SDD)или кремниевым PIN-диодным детектором (Si-PIN), оба варианта являются высокоценными высокоточными оптоэлектронными компонентами. После прокола или разрыва мембраны окна детектора компании сталкиваются не только с дорогостоящей заменой запасных частей и расходами на выезд технических специалистов — они также терпят серьезные простои производственных линий и процессов контроля качества.
На основе данных глобального полевого обслуживания производителей это подробное руководство анализирует коренные причины отказов окон детекторов и описывает стандартные операционные процедуры (SOP), протоколы регулярного обслуживания и стратегии управления активами предприятия для защиты вашего портативного XRF-анализатора металлов.
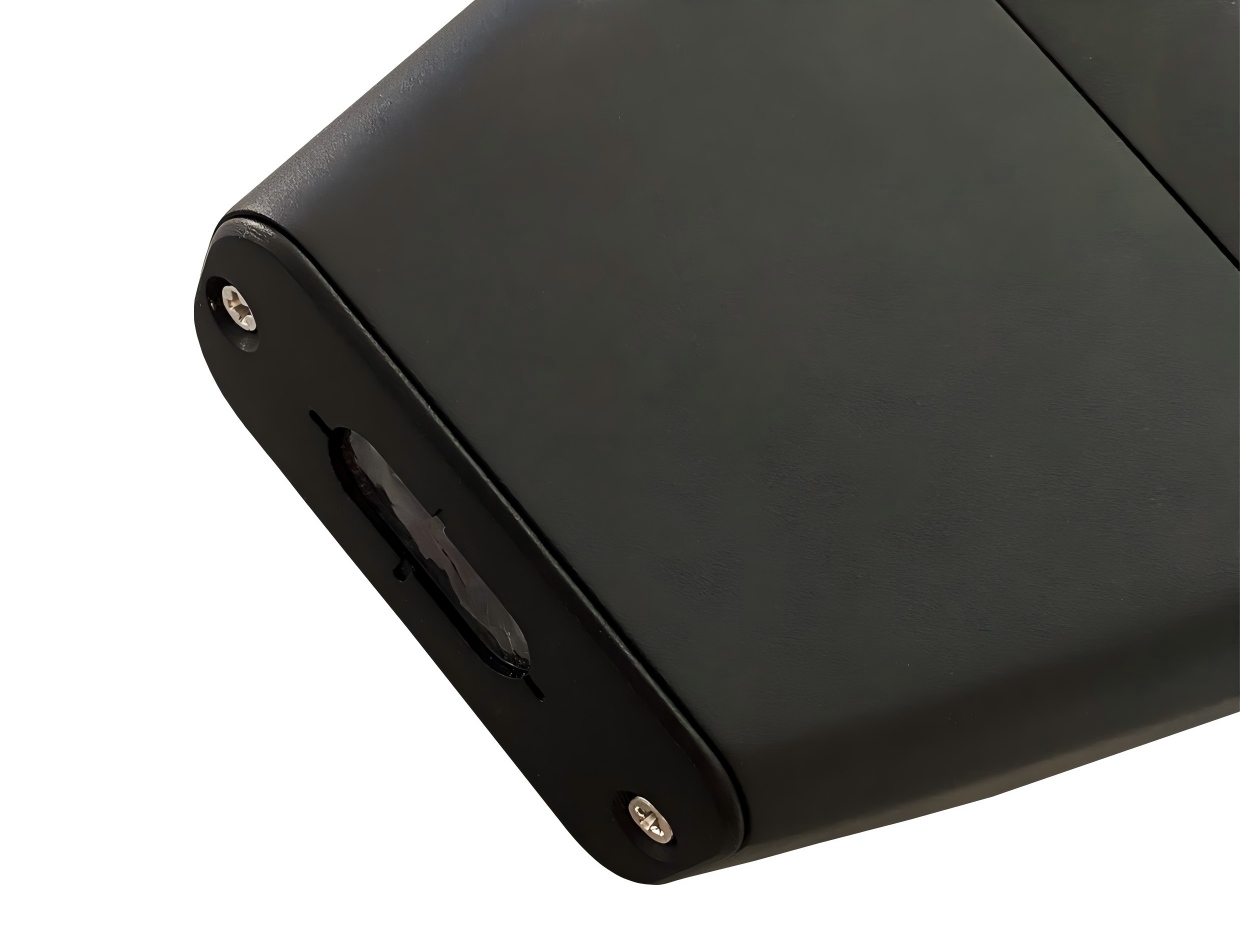
1. Структура окна XRF-детектора и коренные причины отказов
Портативные XRF-анализаторыобычно оснащены сверхтонкой пленкой, пропускающей излучение, в передней части наконечника. Основные конфигурации включают:
Сверхтонкие окна из полиимида (Kapton®/Proline): чрезвычайно тонкие, обеспечивают максимальное прохождение рентгеновского излучения для легких элементов, таких как магний (Mg), алюминий (Al), кремний (Si), фосфор (P) и сера (S). Однако эти мембраны обладают низкой механической прочностью и подвержены повреждениям от острых проколов, истирания и термического воздействия.
Металлические окна из бериллия (Be): обеспечивают более высокую механическую прочность и устойчивость к проколам для анализа металлов средней и высокой массы. Однако бериллий поглощает низкоэнергетическое рентгеновское излучение, испускаемое легкими элементами, и подвержен окислению и химической коррозии во влажной или кислой среде. (Примечание: бериллий токсичен; избегайте прямого контакта кожи с ним при разрушении окна из Be).
Окно детектора герметизирует вакуумную или контролируемую внутреннюю камеру, предотвращая попадание пыли, влаги и загрязнений, при этом позволяя характеристическим рентгеновским лучам достигать внутреннего сенсорного чипа SDD или Si-PIN. Поэтому оно остается единственной наиболее открытой и уязвимой физической поверхностью устройства.
Согласно статистике технической поддержки, нештатные отказы окон происходят по трем основным причинам:
Прямой острый прокол: Перемещение или наклон передней части корпуса относительно металлической стружки, острого металлического лома, неровных минеральных образцов или заостренных электронных компонентов может мгновенно проколоть пленку, вызывая критическое повреждение царапинами расположенного ниже SDD или Si-PIN чипа.
Абразивное воздействие частиц и сдвиговые разрывы: Промышленная пыль (частицы нержавеющей стали, титана, кварца или железа) легко накапливается вдоль рамы окна в условиях добычи полезных ископаемых или переработки лома. При прижатии анализатора к образцу эти частицы зажимаются, создавая сильные абразивные сдвиговые силы, которые превращают микротрещины в полноценные разрывы.
Неправильные протоколы очистки: Очистка сухими промышленными бумажными полотенцами или использование агрессивных растворителей, таких как ацетон, разбавители красок или сильные кислоты/щелочи, быстро разрушает полимерную матрицу, что приводит к набуханию, расслоению и перфорации пленки.
2. Стандартные операционные процедуры (SOP) для профилактического ухода
Компании, использующие портативные XRF-устройствадолжны внедрить строгие SOP, ориентированные на четыре эксплуатационных принципа: Предварительная проверка, правильное позиционирование, защитные расходные материалы и неразрушающая очистка.
Оценка поверхности и позиционирование перед измерением
Подготовка поверхности: Осмотрите геометрию образца перед нажатием на спуск. Опилите или отшлифуйте острые заусенцы, наплывы или заострённые края на обработанных деталях или металлическом ломе.
Параллельный контакт: Поддерживайте строгое параллельное выравнивание под углом 90 градусов между носовой частью анализатора и образцом. Прикладывайте мягкое равномерное давление — никогда не наклоняйте, не прижимайте с усилием и не перемещайте окно по поверхности образца.
Контроль температуры и химического воздействия: Избегайте прямого контакта с горячими образцами, температура которых превышает заводские номинальные значения (чрезмерное тепло плавит полиимидные плёнки). Тщательно удаляйте режущие жидкости, смазочные материалы или остатки кислотного травления перед сканированием.
Специализированные рабочие станции для малых и неровных образцов
Никогда не удерживайте пальцами мелкие крепёжные детали, тонкие провода, металлическую стружку или крошечные электронные компоненты у окна.
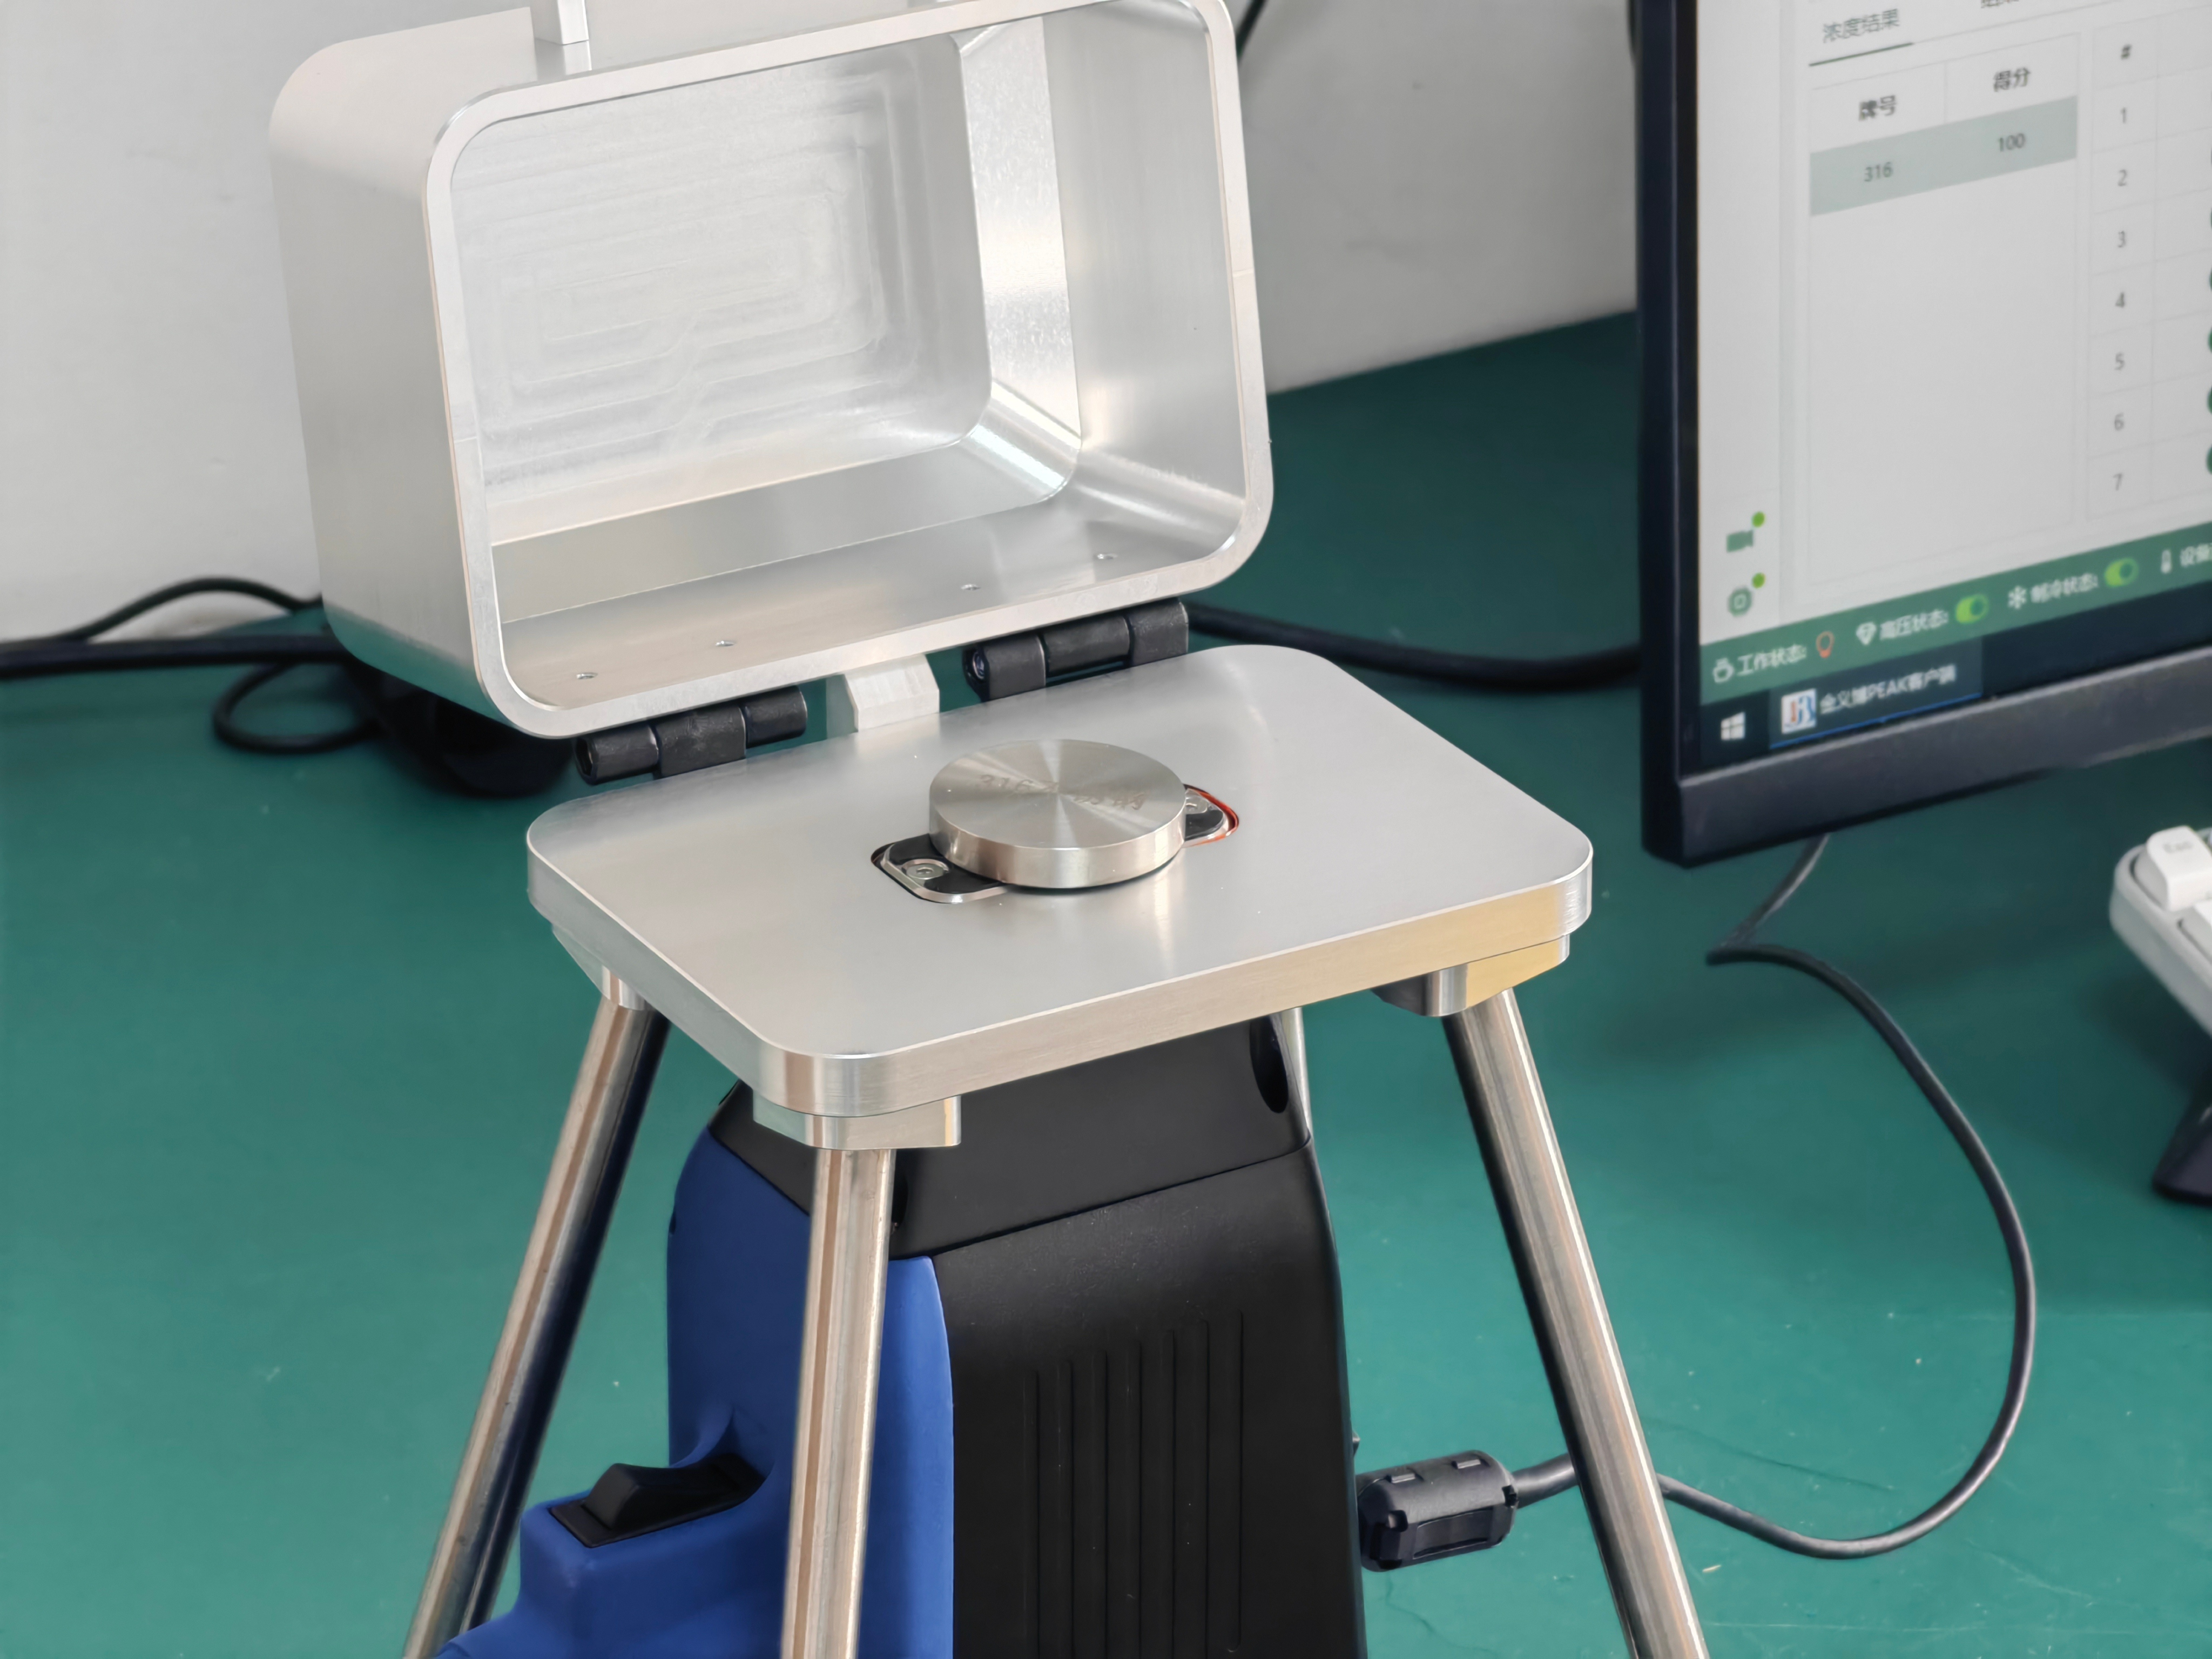
Лабораторные условия: Закрепите прибор на специальной испытательной стойке XRF. Поместите небольшие предметы внутрь герметичной чашки для образцов или камеры с буферной облицовкой для коллимированного тестирования.
Условия сортировки в полевых условиях: Используйте прочные резиновые или силиконовые коврики для образцов. Разложите мелкие детали плоско на коврике и осторожно опустите носовую часть анализатора на них, чтобы предотвратить перекатывание и защемление.
Подбирайте защитные расходные материалы в соответствии с применением
Анализ лёгких элементов (Mg, Al, Si, P, S): Используйте заводские полиимидные окна с заменяемыми тонкоплёночными покрытиями (такими как Proline, Mylar® или Ultralene®) в качестве основного щита от пыли и ударов.
Анализ тяжёлых металлов (Cu, Fe, Ni, Pb, Zn): Для моделей с бериллиевым окном установите гибкий силиконовый защитный бампер лицевой панели для поглощения прямых физических ударов при интенсивном использовании в полевых условиях.
Замена расходных материалов: Немедленно заменяйте внешние защитные плёнки или бамперы лицевой панели при обнаружении царапин, внедрившейся металлической пыли или изменения цвета из-за масла.
Стандартизированная процедура неразрушающей очистки
Во время очистки никакие твёрдые предметы не должны напрямую контактировать с мембраной детектора.
Шаг 1: Сухое удаление поверхностной пыли (ежедневная очистка от обычной пыли) Используйте промышленную резиновую воздуходувку без ворса. Медицинские ушные спринцовки с остаточной влагой и струя азота высокого давления, направленная с близкого расстояния, строго запрещены. Сдувайте поверхностную пыль и металлический мусор под боковым углом 45°, чтобы избежать воздействия вертикального воздушного потока, которое может разорвать мембрану.
Шаг 2: Мягкая химическая очистка при загрязнении маслом Когда на окне накапливаются пятна от режущей жидкости или загрязнения, возьмите специальный ватный тампон с тонким наконечником без ворса, смочите его минимальным количеством высокочистого безводного этанола и осторожно проведите им по мембране в одном направлении. Не трите энергично взад-вперёд и не оказывайте вертикальное давление на мембрану. Дайте поверхности высохнуть на воздухе в течение 1–2 минут перед возобновлением тестирования.
Запрещённые операции
Не протирайте мембрану насухо обычными бумажными салфетками или грубой бумагой без ворса.
Не применяйте химические очистители, включая ацетон, растворители для краски, сильные кислоты или сильные щёлочи.
Не очищайте поверхность повторными сильными протирающими движениями.
Не используйте цеховой сжатый воздух для прямого обдува окна с близкого расстояния (такой воздух содержит высокое давление, влагу и масляные аэрозоли).
3. Система управления корпоративными активами и технического обслуживания
Предотвращение повреждения оборудования требует сочетания соблюдения требований операторами и политики управления оборудованием в организации:
1. Двухуровневая сертификация операторов
Включите протоколы радиационной безопасности и защиты окна детектора в обязательное вводное обучение сотрудников. Операторы должны успешно пройти как теоретические экзамены, так и практическую оценку обращения с оборудованием перед получением разрешения на эксплуатацию ручных XRF-устройств. Проводите ежегодное повторное обучение с акцентом на работу с образцами высокого риска.
2. Многоуровневые протоколы проверки
Ежедневные проверки до/после смены: Операторы должны проводить визуальный осмотр узла окна в начале и конце каждой смены, проверяя наличие микротрещин, провисания, скопления масла или отслоения краев.
Еженедельные проверки высокого риска: Увеличьте частоту проверок до еженедельной в суровых, влажных или запыленных условиях (например, на шахтах, площадках переработки металлолома, травильных производствах), чтобы гарантировать отсутствие конденсации влаги или скопления частиц за лицевой панелью.
Политика немедленного карантина: Если пленка окна анализатора имеет любые признаки точечных отверстий, провисания или расслоения, немедленно изолируйте анализатор и зарегистрируйте заявку на техническое обслуживание. Эксплуатация устройства с поврежденным окном может привести к разгерметизации вакуумной камеры, повреждению SDD или модуля детектора Si-PIN.
Заключение
Окно детектора портативного XRF-анализатора выполняет функцию критически важного барьера для прецизионного анализа материалов. Его состояние напрямую определяет повторяемость анализа, время безотказной работы прибора и долгосрочную стоимость владения.
Внедряя стандартизированные процедуры подготовки образцов, используя испытательные стенды для конкретных применений, соблюдая неразрушающие методы очистки и обеспечивая строгий контроль состояния оборудования, промышленные предприятия могут устранить более 90% отказов окон детекторов, вызванных действиями пользователей. Защита этого важного компонента обеспечивает непрерывное, надежное и экономически эффективное неразрушающее тестирование (NDT) во всех полевых и лабораторных операциях.
Пожалуйста, свяжитесь с нами для получения дополнительной информации или подробных сведений!
Телефон:+86-183-5283 6805
Электронная почта:sales@jinyibo.com
Веб-сайт:www.jinyibo.com